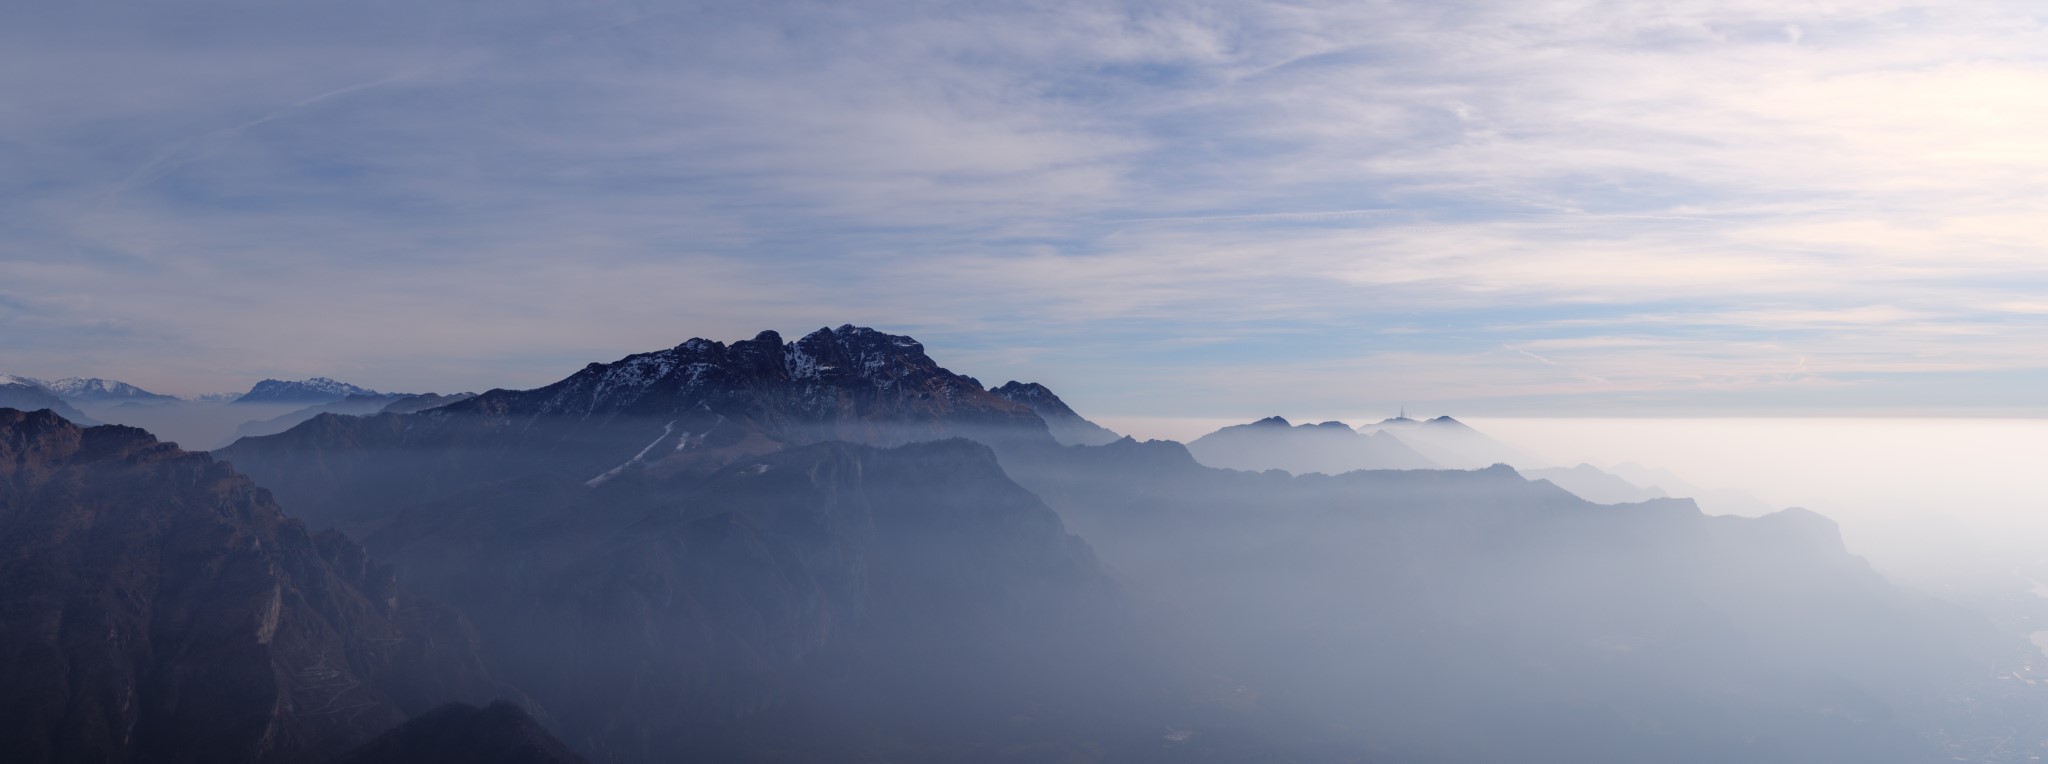
Editing landscape photographs is a process that I really enjoy, because each photo is different and requires specific adjustments. So, let’s see how I approach this task after coming back home with a bunch of shots.
Selection
Most of the time I want to review images on a large screen, so everything starts with extracting images from the memory card.
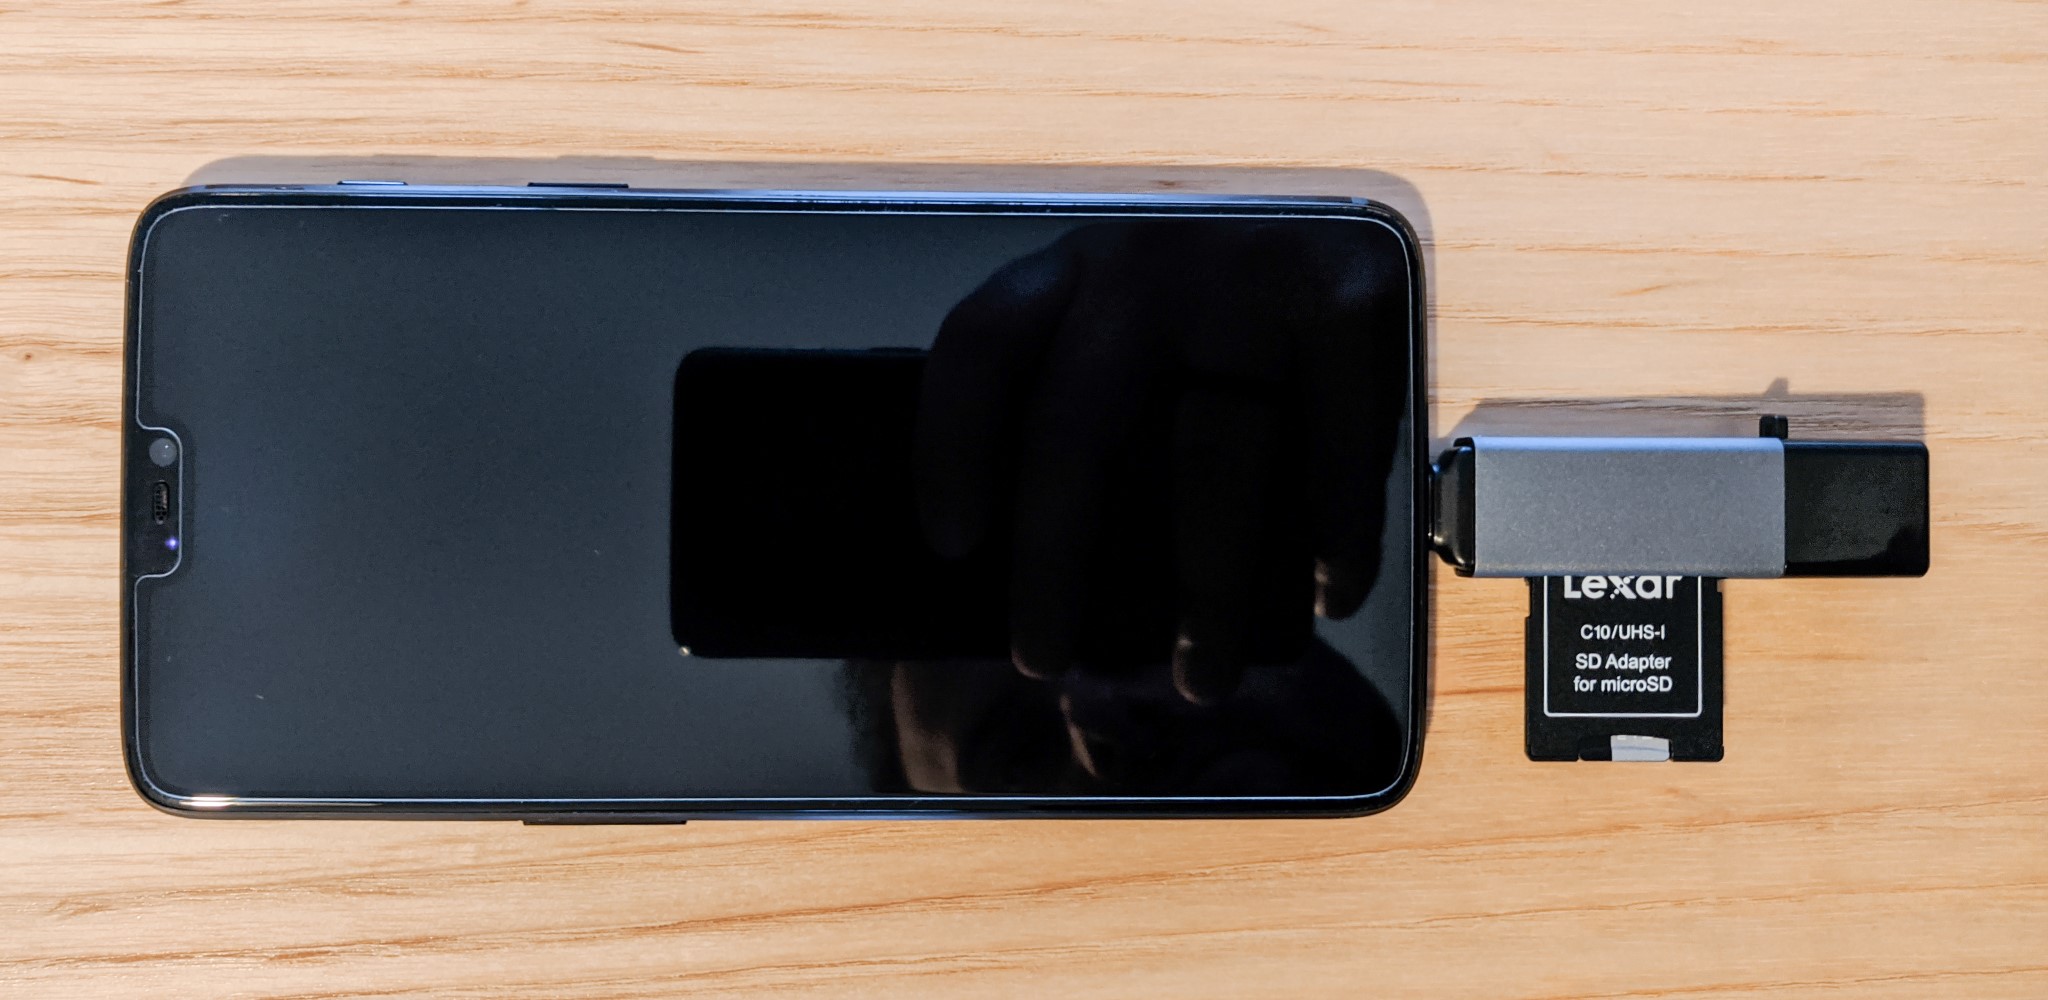
I do this on my smartphone with a USB On The Go (OTG) MicroSD adapter. The phone is configured to automatically backup images to my NAS – both JPEGs and RAWs. In case you’re wondering a NAS is basically a storage unit that sits on a shelf in your home or office instead of the cloud. Apps allow you to access files and pictures on the unit.
Once on the NAS, I use the photo app to rieview images and physically delete those that don’t deserve to be saved. Let’s say that I delete about 10% of captured photographs.
After that, I select the photos that I deem good enough to go through editing and manually import those RAWs into Lightroom. The remaining frames live forever on the NAS.
The shots that end up in Lightroom for editing are about a third of those that I capture.
Software
To edit my photos I use Lightroom Cloud. Because I use three devices – Android smartphone, Android tablet, Windows PC – I need Lr in the Cloud version because images are automatically synchronized across devices. The downside is that an Internet connection is needed most of the time.
I also use Photoshop, but only to perform specific tasks that I can’t do in Lightroom.
Pre Processing
I perform HDR merge and panorama merge right away from Lightroom. This way I know if a shot works and it’s not blurry without investing more time editing. Doing these operations in Lr is so simple that I won’t go into further detail.
I also do focus stacking in Photoshop – and it’s the only reason I use Photoshop at all. Overkill? Yes!
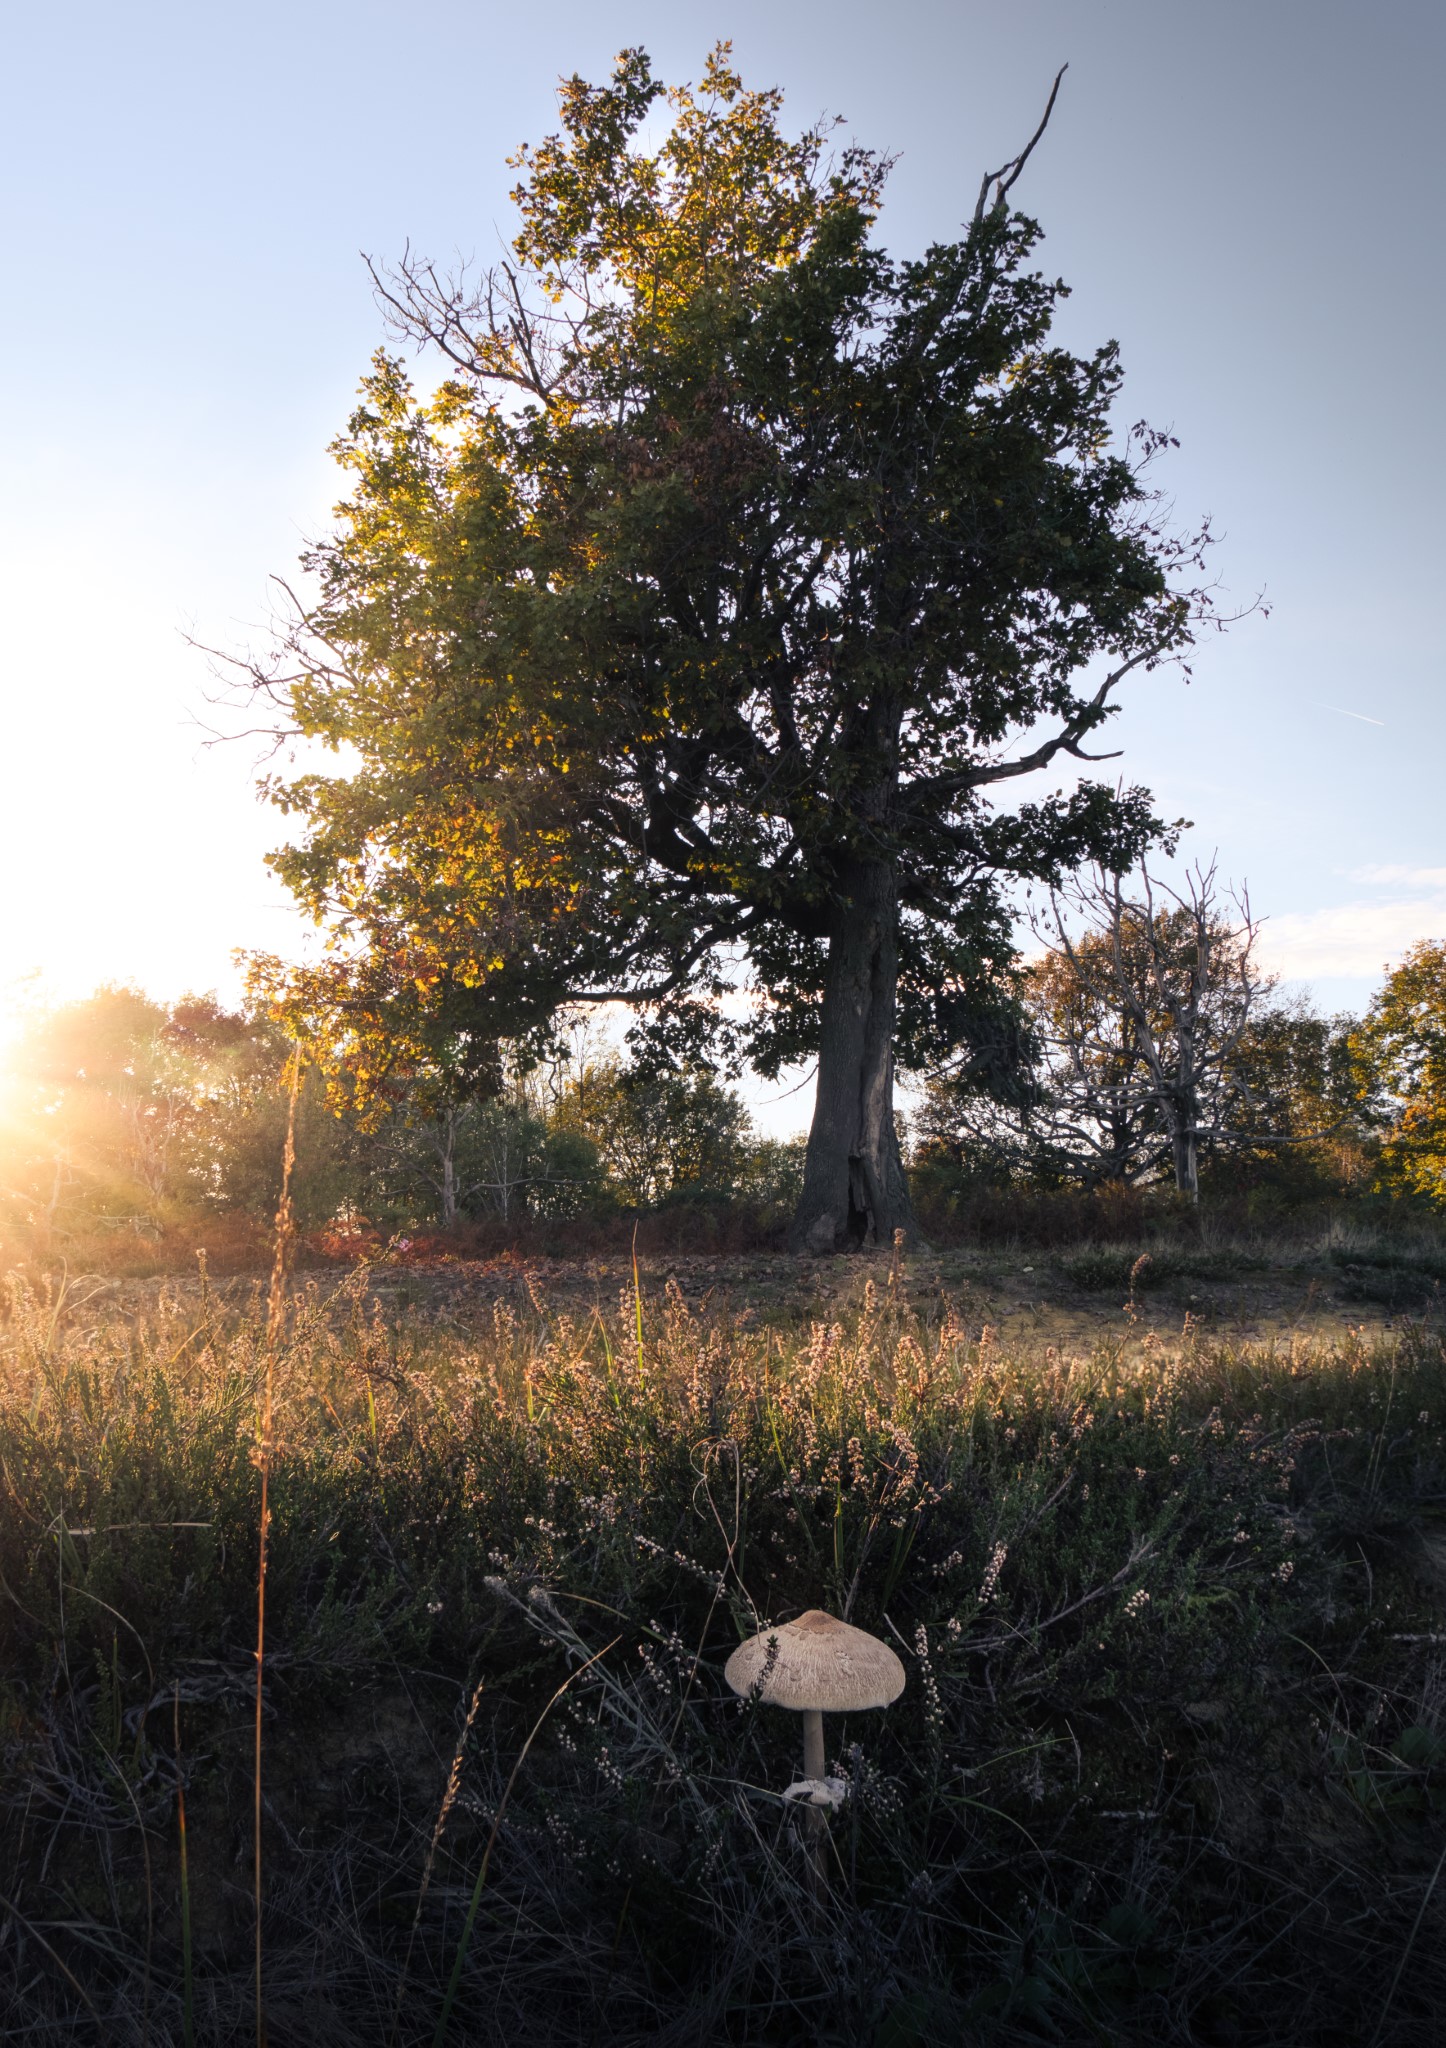
Focus stacking in Ps is relatively simple and there are several tutorials on the web that anyone can follow and get good results 90% of the times. I start from the original RAW files and then export a TIFF to re-import into Lightroom.
The remaining 10% – where images don’t align perfectly, or where the algorithm fails to identify the best parts of each image – require manual intervention, and it’s something that I don’t feel like sharing here because I’m not good enough at it. For this case there are many tutorials on the web as well.
Actual Editing
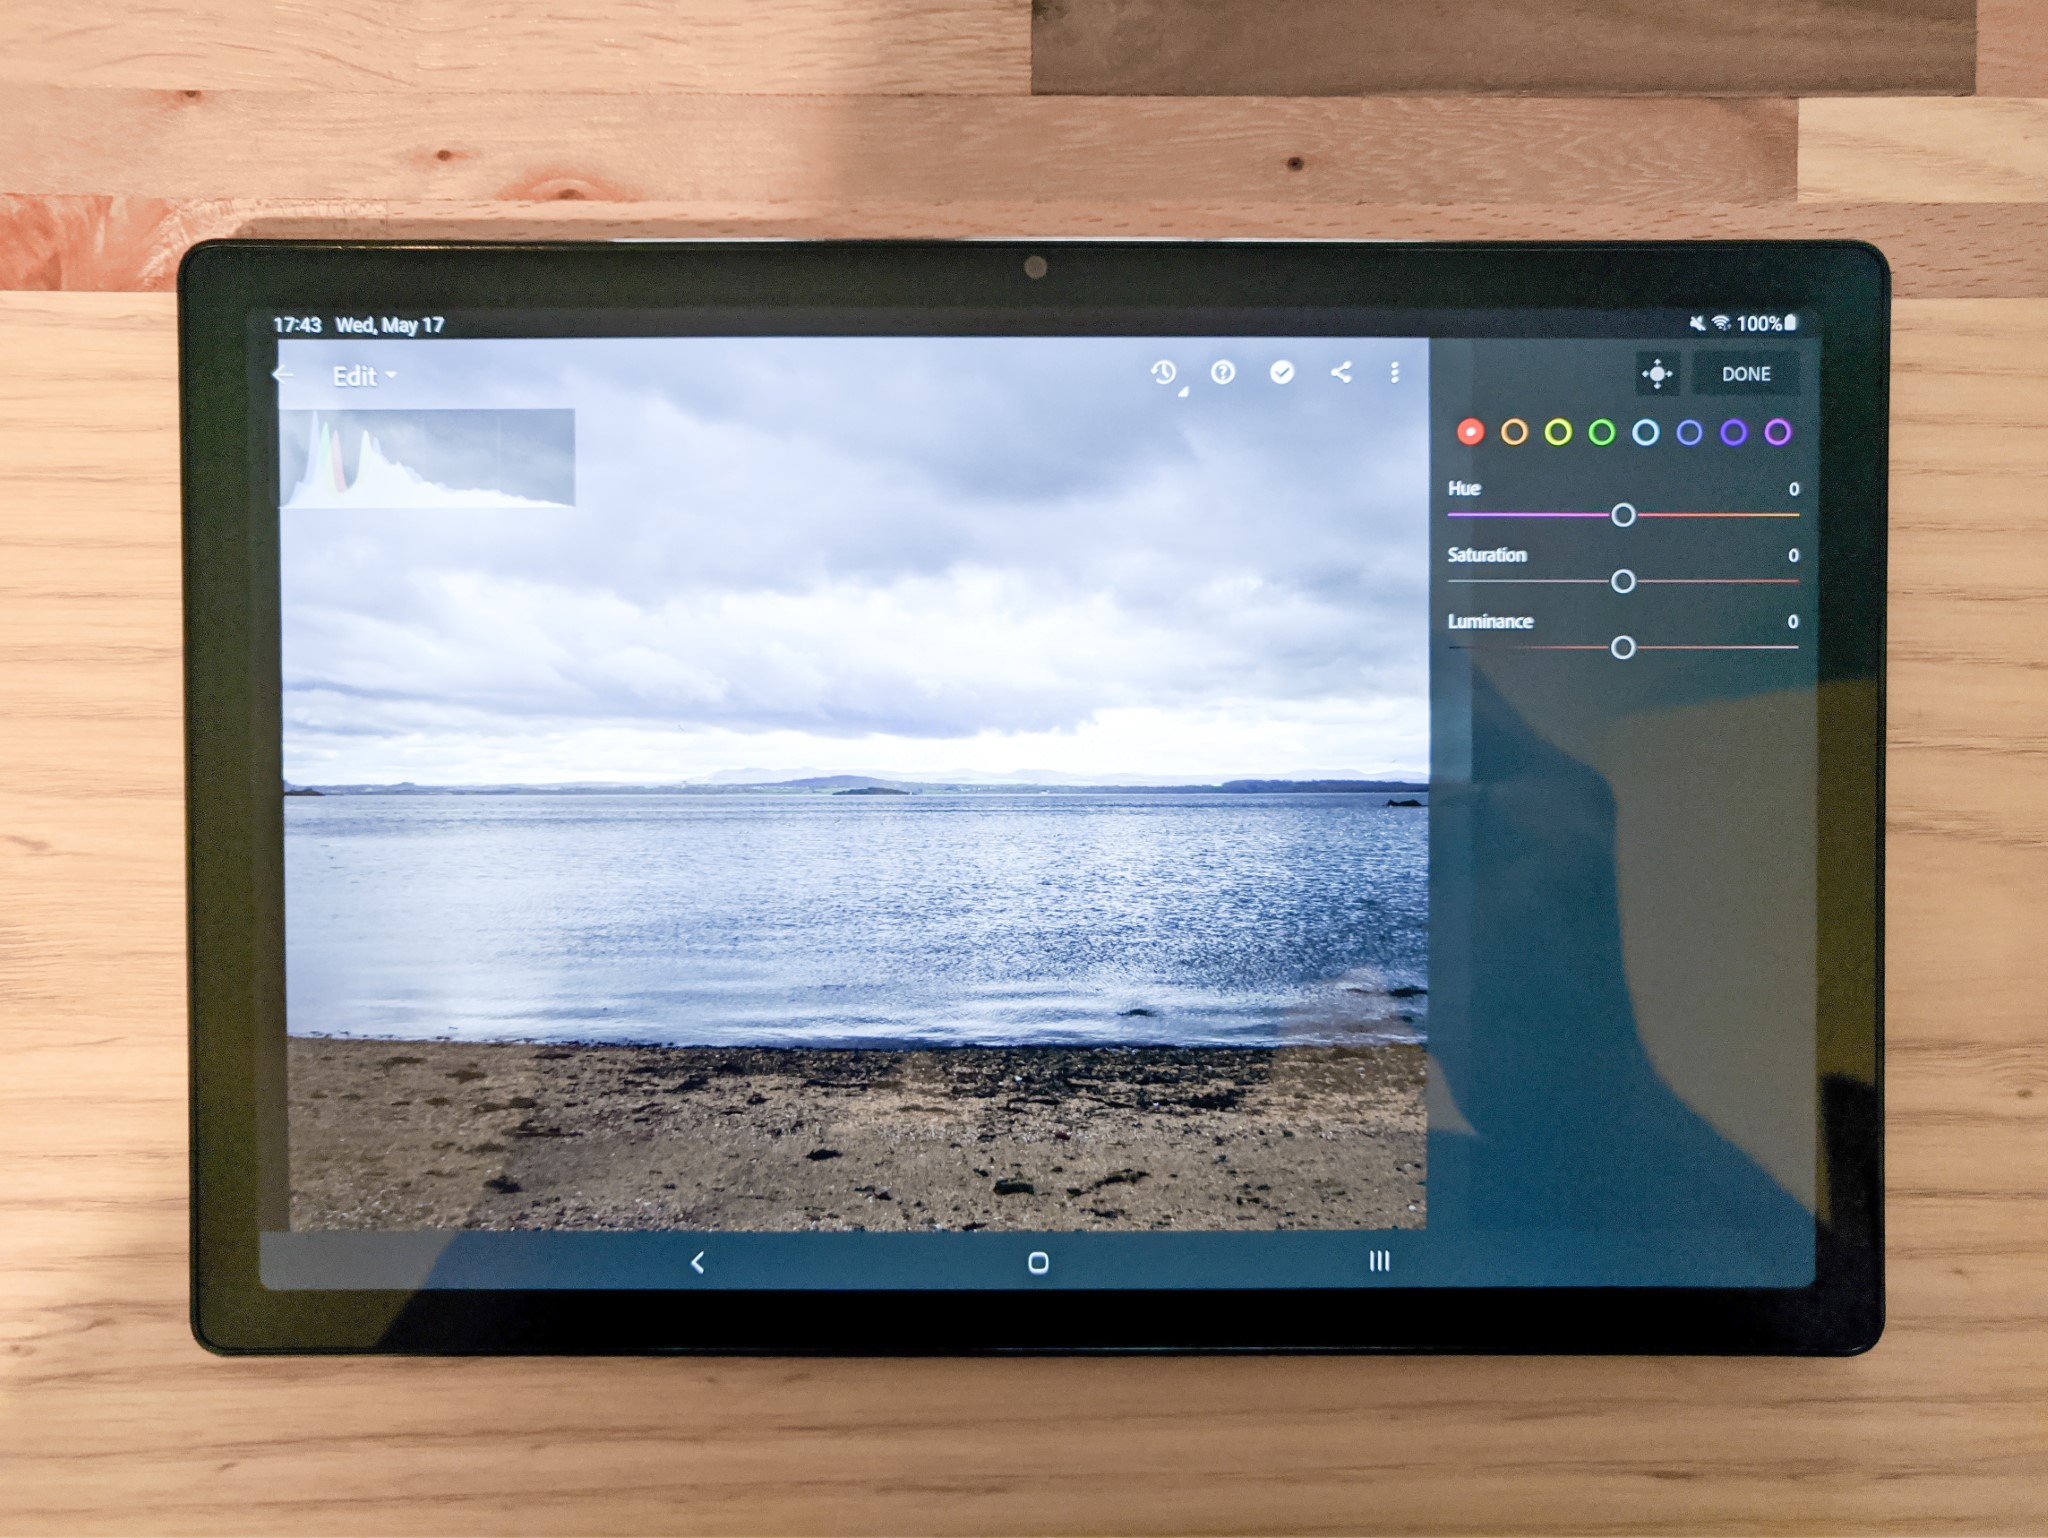
I edit photographs in an iterative process. The actual adjustments really depend on the specific image, but generally speaking I do the following global adjustments (if needed):
- Fix highlights and shadows;
- Adjust curves, usually adding a bit of an “S” shape;
- Fix color temperature;
- Give specific colors a bit more saturation (for example orange and red tones in autumn).
Then I move on to local adjustments. These can be many, but there are a few things that I often like to do:
- Enhance the sunlight with a radial gradient by increasing exposure, reducing clarity and negative dehazing;
- Pull out interesting details/areas of the image by adjusting exposure, clarity and texture
- Give clouds in the sky a bit more clarity and texture.
I usually clone out distracting bits of the image – and I do this shamelessly.
The important aspect here is that when I capture a composition, I already have in mind how I would later edit it. This is crucial, because it can lead to better results. It’s something that you have to develop and evolve over time as it strongly depends on your own style and preferences.
Sometimes I end up not capturing a photograph at all if I’m sure that it won’t result in a good edited image.
Black & White
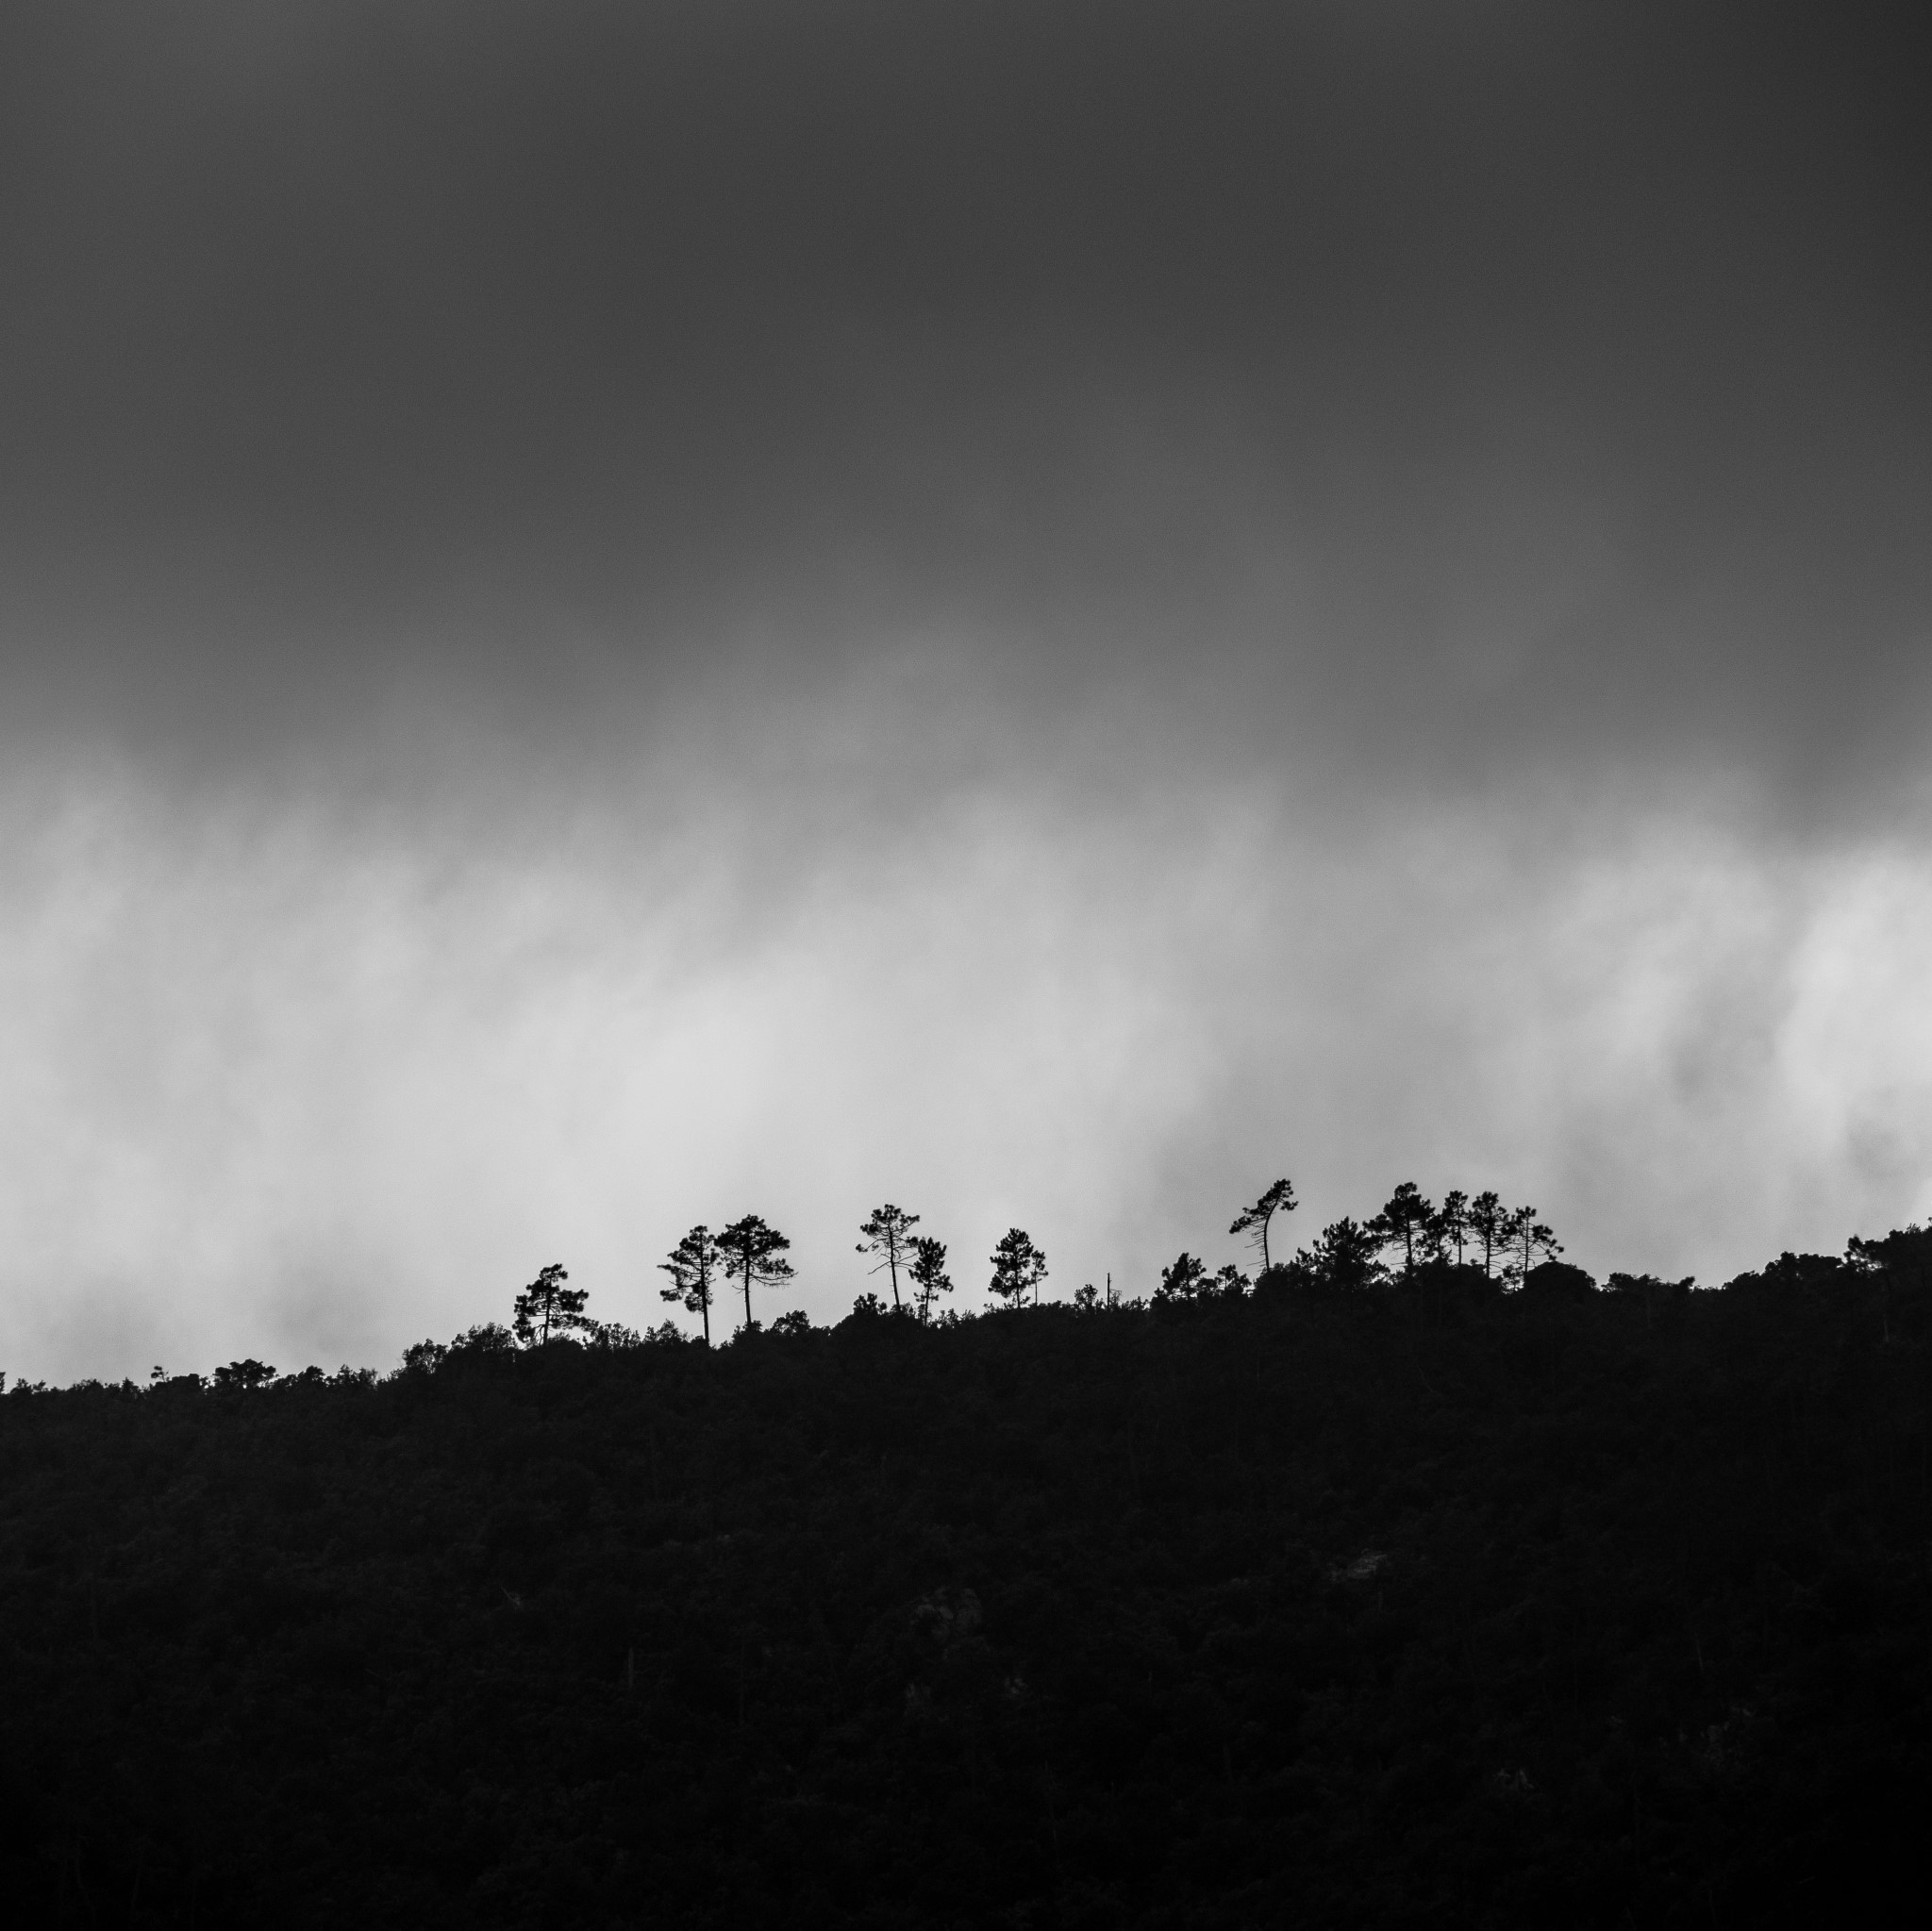
I don’t edit landscapes in black and white as often as I’d like. I’m trying to do it more lately and I think that this practice is starting to yield some good results.
When I chose B&W, I usually go for punchy, contrast-rich images. This approach can also turn flat, boring images int something a bit more interesting. Sometimes.
How Much Time I Spend Editing
You see – I heard this from James Popsys, if I recall correctly – if the photograph doesn’t look good after five minutes of editing, then it probably won’t get any better after an hour.
I tend to spend about ten, fifteen minutes on each photograph, and then let it sit for a while. Then I come back to it after some time – maybe an hour, maybe a week – and assess if I like it or not. I may tweak the edits a little, or I may leave the photo as it is. Sometimes I start from scratch because I feel I went way overboard with the edit, or because I decide that that very image needs a different style, maybe very different from what I had originally in mind. Experimentation is a good thing.
What I look for is a sensation. The image must feel right. The image must convey the right feeling and atmosphere.
Export & Calling It Done
When the image feels ready, I export it from Lightroom in both DNG and JPEG format and save it on my NAS, then I delete the photo from Lr to make room for the next frames.
Edited images live in several different albums on my NAS. These keep changing as my organizational needs change, but the key is that I want to be able to find edited photos quickly when I need them for this website or for social media – or to print them and hang them on our walls.

